Have you ever read what you thought was a fantastic book, the kind that forces us to read into the wee hours of the morning, not wanting to stop because the writing is so doggone good? But then on page 1,617, well, there it is, the sentence that makes us scream like the shopper on Black Friday who lost the last 100-foot-flatscreen Kawasaki Supersonic television to the old lady with the great left jab who immediately zipped over to the checkout counter on her suped-up Hoveround with YOUR TV strapped to her back.
Yeah, you know those books. The stories written by the author who figured no one would notice that he didn’t know the difference between a revolver and a semi-automatic pistol. Or that cordite hasn’t been used in the manufacturing of ammunition since the last days of WWII. Yep, those books.
We’ve all heard (over and over and over again) about fake news, right? You’ve even heard me mention the nonsensical reporting so often seen floating around the internet. Well, the use of incorrect firearm and other forensic terminology and information has the same stink to it as does the news reporter who kneels down in a shallow puddle of water to make it seem as if he’s standing in raging floodwaters.
So let’s have a fresh start today and we’ll do so by clearing a bit of the stinky faux pas from our writing. We’ll begin the funk-cleansing by quashing a few details about blood evidence. First, up …
Some writers have their crime-solvers rush into a murder scene while soaking the area with a luminol-filled power washer. They spray and spray until every surface—walls, ceilings, and even the family dog and Ralph the goldfish are dripping with the glowing liquid.
Others, well, their detectives have the uncanny ability to merely look at blood droplets and immediately know its type and what the bleeder had for dinner and the exact time the red stuff spattered the family portrait hanging above the mantle.
You put your left eye up, you put your left eye down.
You put ’em both together and then you look all around.
That’s what it’s all about!
~ Sung to the tune of The Hokey Pokey.
So, as the peppy little jingle above indicates, investigators should always examine a scene visually before taking the first step inside. This includes looking up. See if there are bloodstains there. Any brain matter? Bullet holes? Insects?
Next, the walls and for the same items of evidence and/or clues.
The floor and the body, if that’s where it was found. Of course, the victim should be the first concern. After all, he or she just might still be alive and need prompt medical attention. Oh, and a quick check for the suspect is always a good idea. No need to take a bullet or stab wound in the back if not absolutely necessary. Priorities!
Then look all around, and do examine the smallest of details. Evidence, as any seasoned investigator will tell you, is sometimes found in the most unlikeliest of all places.
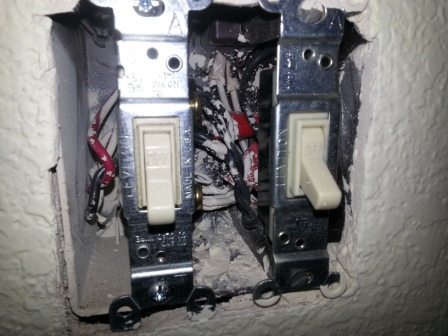
Crime-scene searches must be methodical and quite thorough. Every single surface, nook, and cranny must be examined for evidence, including doors, light switches, thermostats, door knobs, etc.
For example, removing the plastic light switch or receptacle covers reveals an ideal hiding spot for small evidence.
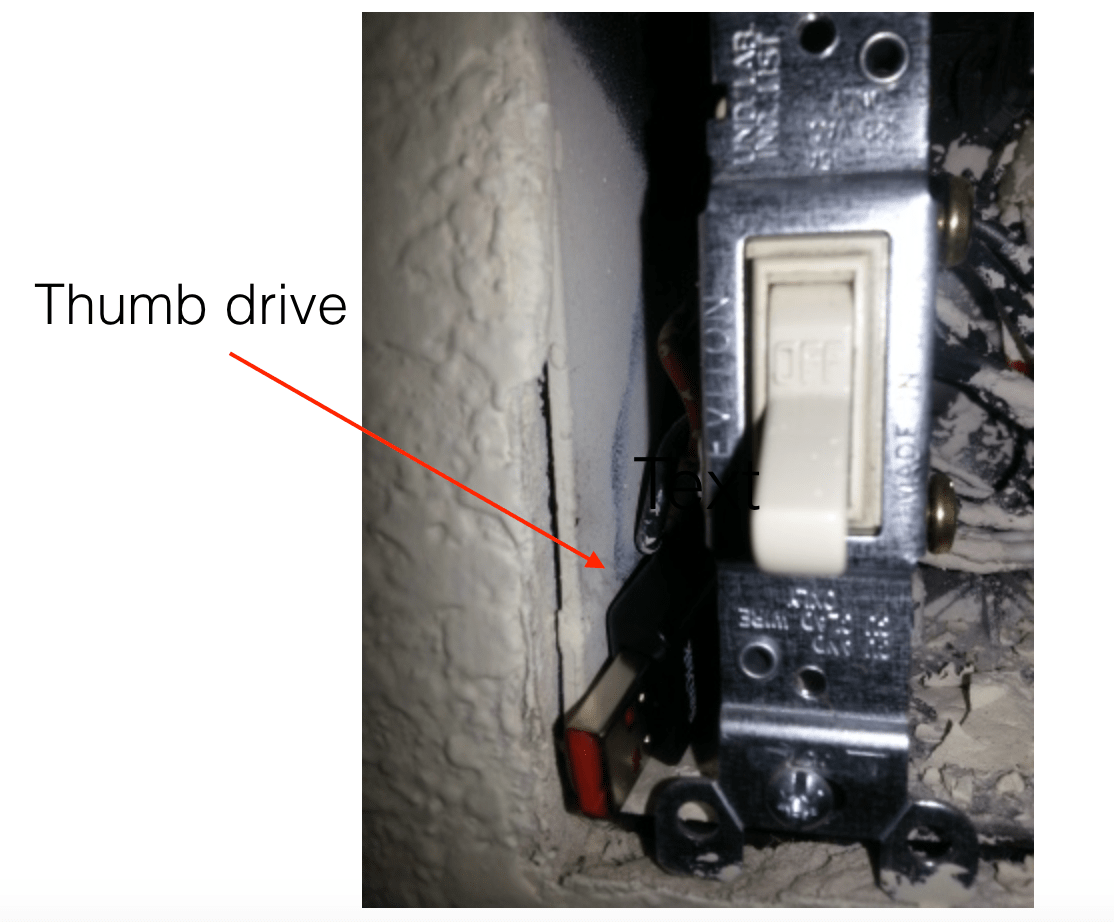
First responders can be a homicide detective’s worst nightmare!
Was evidence disturbed or altered when first responders arrived at the scene? Did they open or close windows and doors? Did they walk through blood or other body fluids?
Investigators must determine if the body has been moved by the suspect. Are there drag marks? Smeared body fluids? Transfer prints? Is there any blood in other areas of the scene? Is fixed lividity on the wrong side of the body, indicating that it had been moved after death
Does the victim exhibit signs of a struggle? Are there defensive wounds present on the palms of the hands and forearms?
Okay, back to the blood found at the scene. Your detective has detected a bright red and wet substance spattered across a bedroom wall. The victim ju jour is spread eagle on the floor beneath, obviously dead due to a large gap between the eyes. Therefore, the reasonable assumption is that the material dotted and smeared across the wall is indeed blood. But this must be verified.
The procedure for identifying the red, wet substance is not like we see on television.
Officers do not dig through their crime scene kit to pull out a UV light, shine it on the red drops and drips and then turn toward the camera to say, “It’s blood. Type O. She consumed orange juice and a ham sandwich three hours before a left-handed shooter, probably the waiter at the Golden Horseshoe Lounge, popped a cap into her oval-shaped head. I know this, TV viewers, because I magically saw the DNA and it’s a match for all of the above. I’ll be available for autographs later tonight in the lobby of Bucky Bee’s Motor Lodge out on Route 66.”
For starters, unlike saliva and semen, blood doesn’t fluoresce under UV light. Instead, the appropriate light source for viewing (and photographing) blood evidence is an infrared light source. Infrared light is at the wavelength between visible light and microwave radiation. It is invisible to the naked eye.
To avoid altering, contaminating, or destroying blood’s usefulness as evidence, a savvy detective must first determine the reddish-brown substance is blood and not spilled, leftover pasta sauce. To do so, investigators conduct a simple presumptive test such as the Leuco-Malachite DISCHAPS test. This is a field test kit that contains chemical filled ampoules that, when exposed to the evidence, displays an intense blue/green color reaction in 3 seconds if blood is present.
Remember, swab a small sample for testing. Do NOT destroy the entire piece of evidence by exposing it to the testing material. Test only the swab!!
Now that your protagonist has determined that blood is present, the next step is to photograph the evidence/area where blood was found.
Luminol, the chemical used to detect blood at crime scenes, reacts with the iron in hemoglobin. It emit a blue glow that can then be photographed as evidence. It’s helpful with locating the presence of blood even after the place has been thoroughly cleaned. However, it has its limitations because the chemical dilutes blood to the point where DNA is destroyed.
The use of various filters on infrared cameras helps to reveal evidence that can only be seen with specific areas of the infrared spectrum. For example, when capturing images of blood, filters coated with a protein that is found in both egg whites and blood plasma—albumin—are often used.
Other filters are available to detect drugs, fingerprints, and explosives.
Bone fragments and teeth are visible using both UV and blue light. Crack cocaine also fluoresces under blue light.
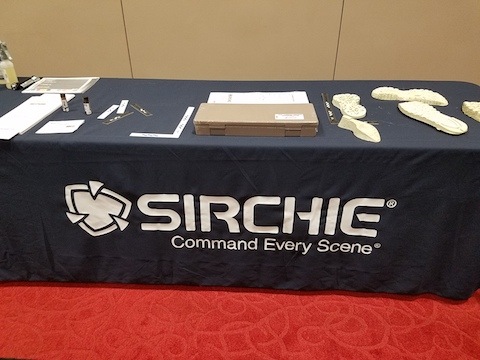
Those of you who attended the fabulous presentation by Sirchie at the 2018 Writers’ Police academy saw the use of these demonstrated in real time.
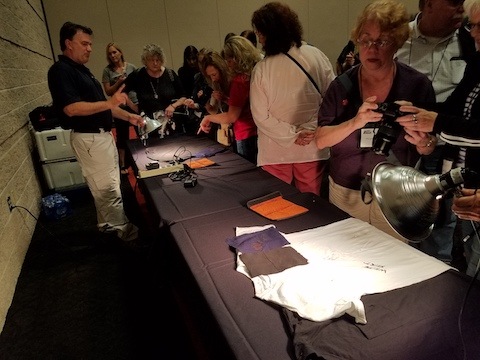
To recap in simpler terms:
- Examine the crime scene visually before entering.
- Visually inspect the areas above, below, and around so as to not miss evidence that may otherwise go undetected. Looks in odd places!
- Conduct your search in a methodical manner. Be patient.
- Identify possible bloodstains
- Use presumptive test kits to determine if stains are indeed blood and if they’re from a human.
- Do NOT destroy am entire stain during testing. Use a swab to capture a small sample and then test the swab, NOT the entire stain.
- Make certain to preserve portions of the blood sample for other testing—DNA, etc.
- Use proper light sources for locating and photographing blood.
- Blood does not fluoresce under UV light.
- The appropriate light source for viewing (and photographing) blood evidence is an infrared light source.
- Filters coated with albumin are used for photographing blood. Other filters are also available.
- Sirchie is the Global Leader in Crime Scene Investigation and Forensic Science Solutions; providing quality Products, Vehicles, and Training to the global law enforcement and forensic science communities.
*Remember the name “Sirchie” because you’ll soon be hearing more about them. Very, very soon. The news is exciting!
