Firearms Evidence: A Top Six “How-To” List
Many of the murders that occur in the U.S. involve a firearm of some type. How and what type of evidence recovered from those weapons can have a huge impact on the subsequent criminal trials. Proper evidence collection procedures … well, they can make or break a case.
Here’s a handy top six “How To” list for the heroes of your stories to use when processing firearms evidence.
1. While wearing proper gloves and a face mask to avoid contamination of evidence, safely unload all firearms prior to submitting to property room.
Revolver
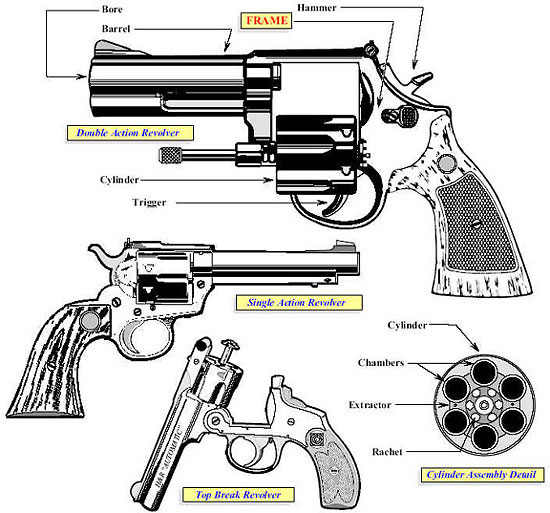
If the weapon is a revolver, first make note of which chamber was in the firing position and of the type/brand/caliber of ammunition in each chamber. Also note fired and unfired cartridges and their position(s) in the cylinder.
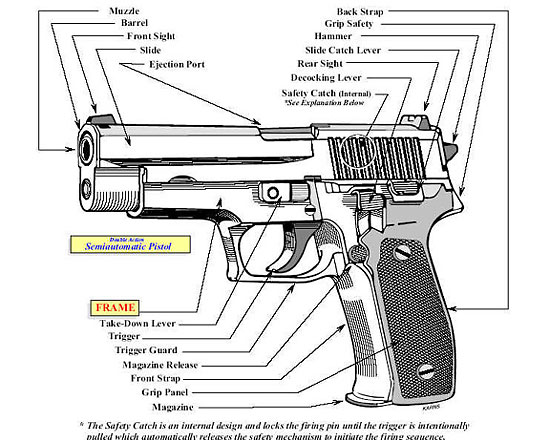
When preparing semiautomatics or fully-automatics be sure the magazines are ejected and the chamber is empty. Make note of the safety position (on or off) and of the de-cocking lever. If there are no safeties and/or de-cocking lever, note that as well. Lock the slide to the rear and insert a plastic zip-tie into the ejection port and down through the magazine well. Then, carefully and slowly release the slide to the forward position until it rests against the plastic tie.
Pistol
Engage the safety, if equipped. The weapon is now inoperable and safe for storage.
2. Proper collection of trace evidence from a firearm (hair, tissue, fingerprints, blood, DNA, etc.).
Again, proper gloves and face masks must be worn during this part of the process. To avoid cross-contamination, gloves must be changed with each piece of evidence handled.
*If detective are unsure or feel they can’t obtain a good, solid fingerprint, or other trace evidence, they should submit the weapon to the fingerprint lab for processing.
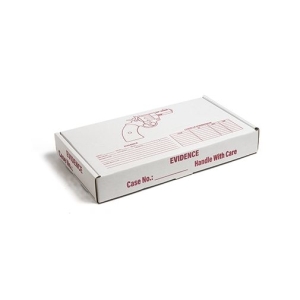
Gun evidence box – Sirchi photo
3. Firearms should be stored in paper-based packaging—cardboard box, manilla envelop, etc. Never in plastic! If a firearm is to be shipped it should be securely packaged inside a appropriately labeled cardboard box.
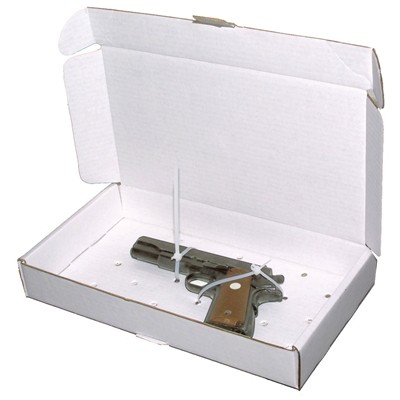
Sirchie photo
NOTE: If a firearm is located in water it must be packaged in the same water from where it was found. The laboratory will handle testing from that point forward.
4. Bullets. Never mark or deface a bullet, and never handle with bare hands. To avoid corrosion and other moisture-related issues never package bullets in plastic or glass containers. Always store or ship in paper-type packaging.
5. Bullets found embedded in an object—wood, drywall, etc. Do not “dig out” the bullet. If possible, submit the entire item. If it’s not possible to submit the entire article (door frame, tree stump, living room wall, etc.) remove or cut away the portion of the article containing the bullet and retain.
6. When removing a bullet from a body during autopsy, care should be taken to not alter the bullet in any way. Pathologists should use fingers or rubber-tipped forceps during the process. Never an instrument with sharp edges. X-rays of the body should be taken prior bullet removal.
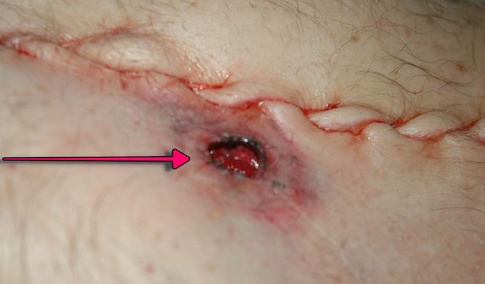
Post autopsy image of a 9mm bullet wound (entry). Note the Y-incision stitching on the upper chest area of the victim.
Finally, as always, a little common sense goes a long way. The heroes of your stories should use it whenever possible. For example, it’s practically impossible to determine caliber and weapon brand/type merely by looking at a gunshot wound. To have the hero of your story say otherwise tosses his common sense, expertise, and experience out the window.

