
A Pictorial Guide to Handcuffing: It’s an Open and Shut Case
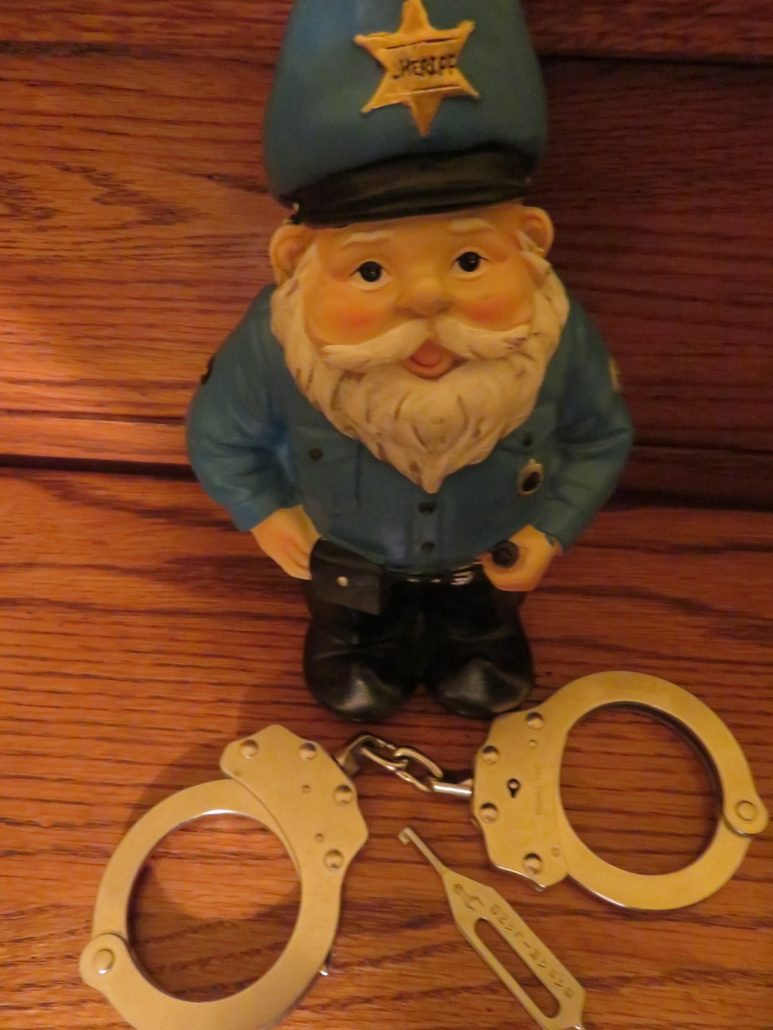
Handcuffs, the jewelry worn by most, if not all captured bad guys.
OJ’s worn them. Charles Manson and Martha Stewart too.
In fact, practically everyone who’s run afoul of the law has been introduced to the feel of steel circling their wrists.
The unmistakable sound made when the ratchet locks in place is a noise like no other. Trust me, there’s not much in this world that’ll ruin a person’s day more than hearing that sickening “clickity-click” when the ratchet teeth slide across the corresponding notches of the pawl (see diagram below).

But there’s more to handcuffing than merely slipping the “bracelets” over a suspect’s wrists. Before we continue, though, let’s take a moment to first learn a bit about these extremely important restraint devices.
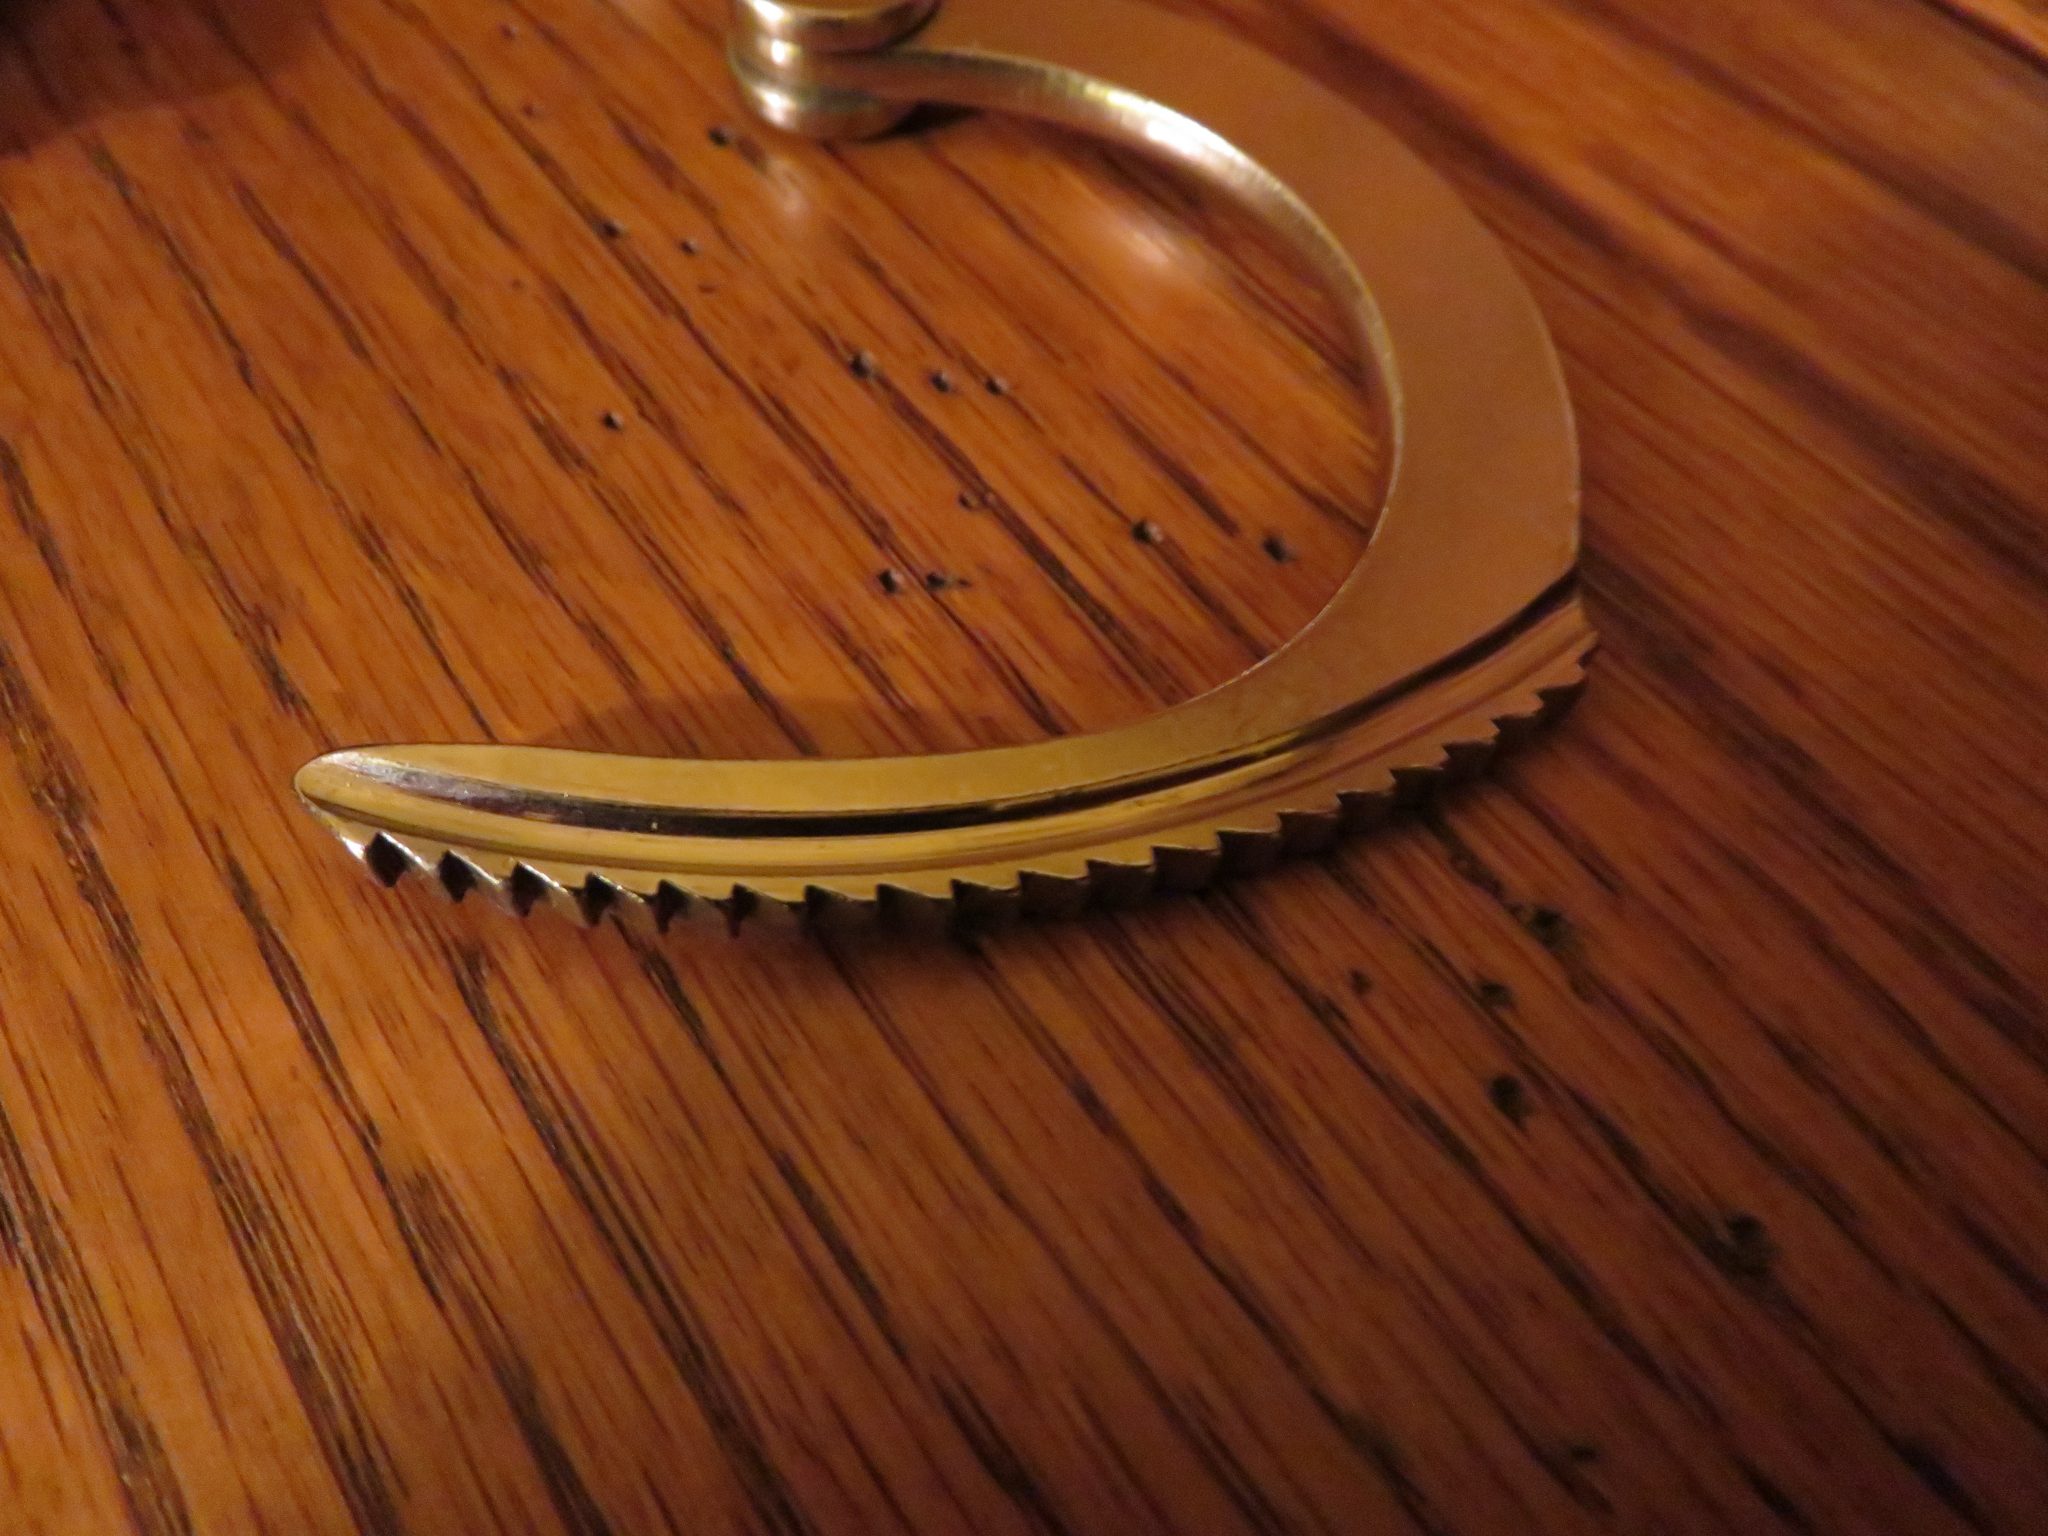
I’ve already mentioned “pawl” and “ratchet,” and it’s easy to understand how those two parts work because they’re basically backward/opposite-facing teeth that, when pushed together, form a tight lock. They cannot be pulled apart. However, the locking action of the pawl and ratchet only works in one direction. In other words, they can continue to tighten since the rear-facing teeth only lock in one direction. The ratchet can continue to move forward against the pawl, but cannot be pulled backward.

Parts of chain-link cuffs (above).
Ratchet teeth face in a backward direction (below).
Closeup of the pawl between the two cheek plates (below).

To lock the cuffs in place, the ratchet is inserted into the receiver/cheek plates where it locks against the corresponding teeth of the pawl.

Hands and/or paws should ALWAYS be cuffed to the rear.


Each pair of handcuffs is fitted with two locks. The first is the automatic lock that connects when the pawl hooks to the ratchet. This allows the officer to apply cuffs to the wrists of combative suspects without having to fumble around while trying to locate a lock, insert a key, etc., while the bad guy is throwing punches to the officer’s nose and jaw.
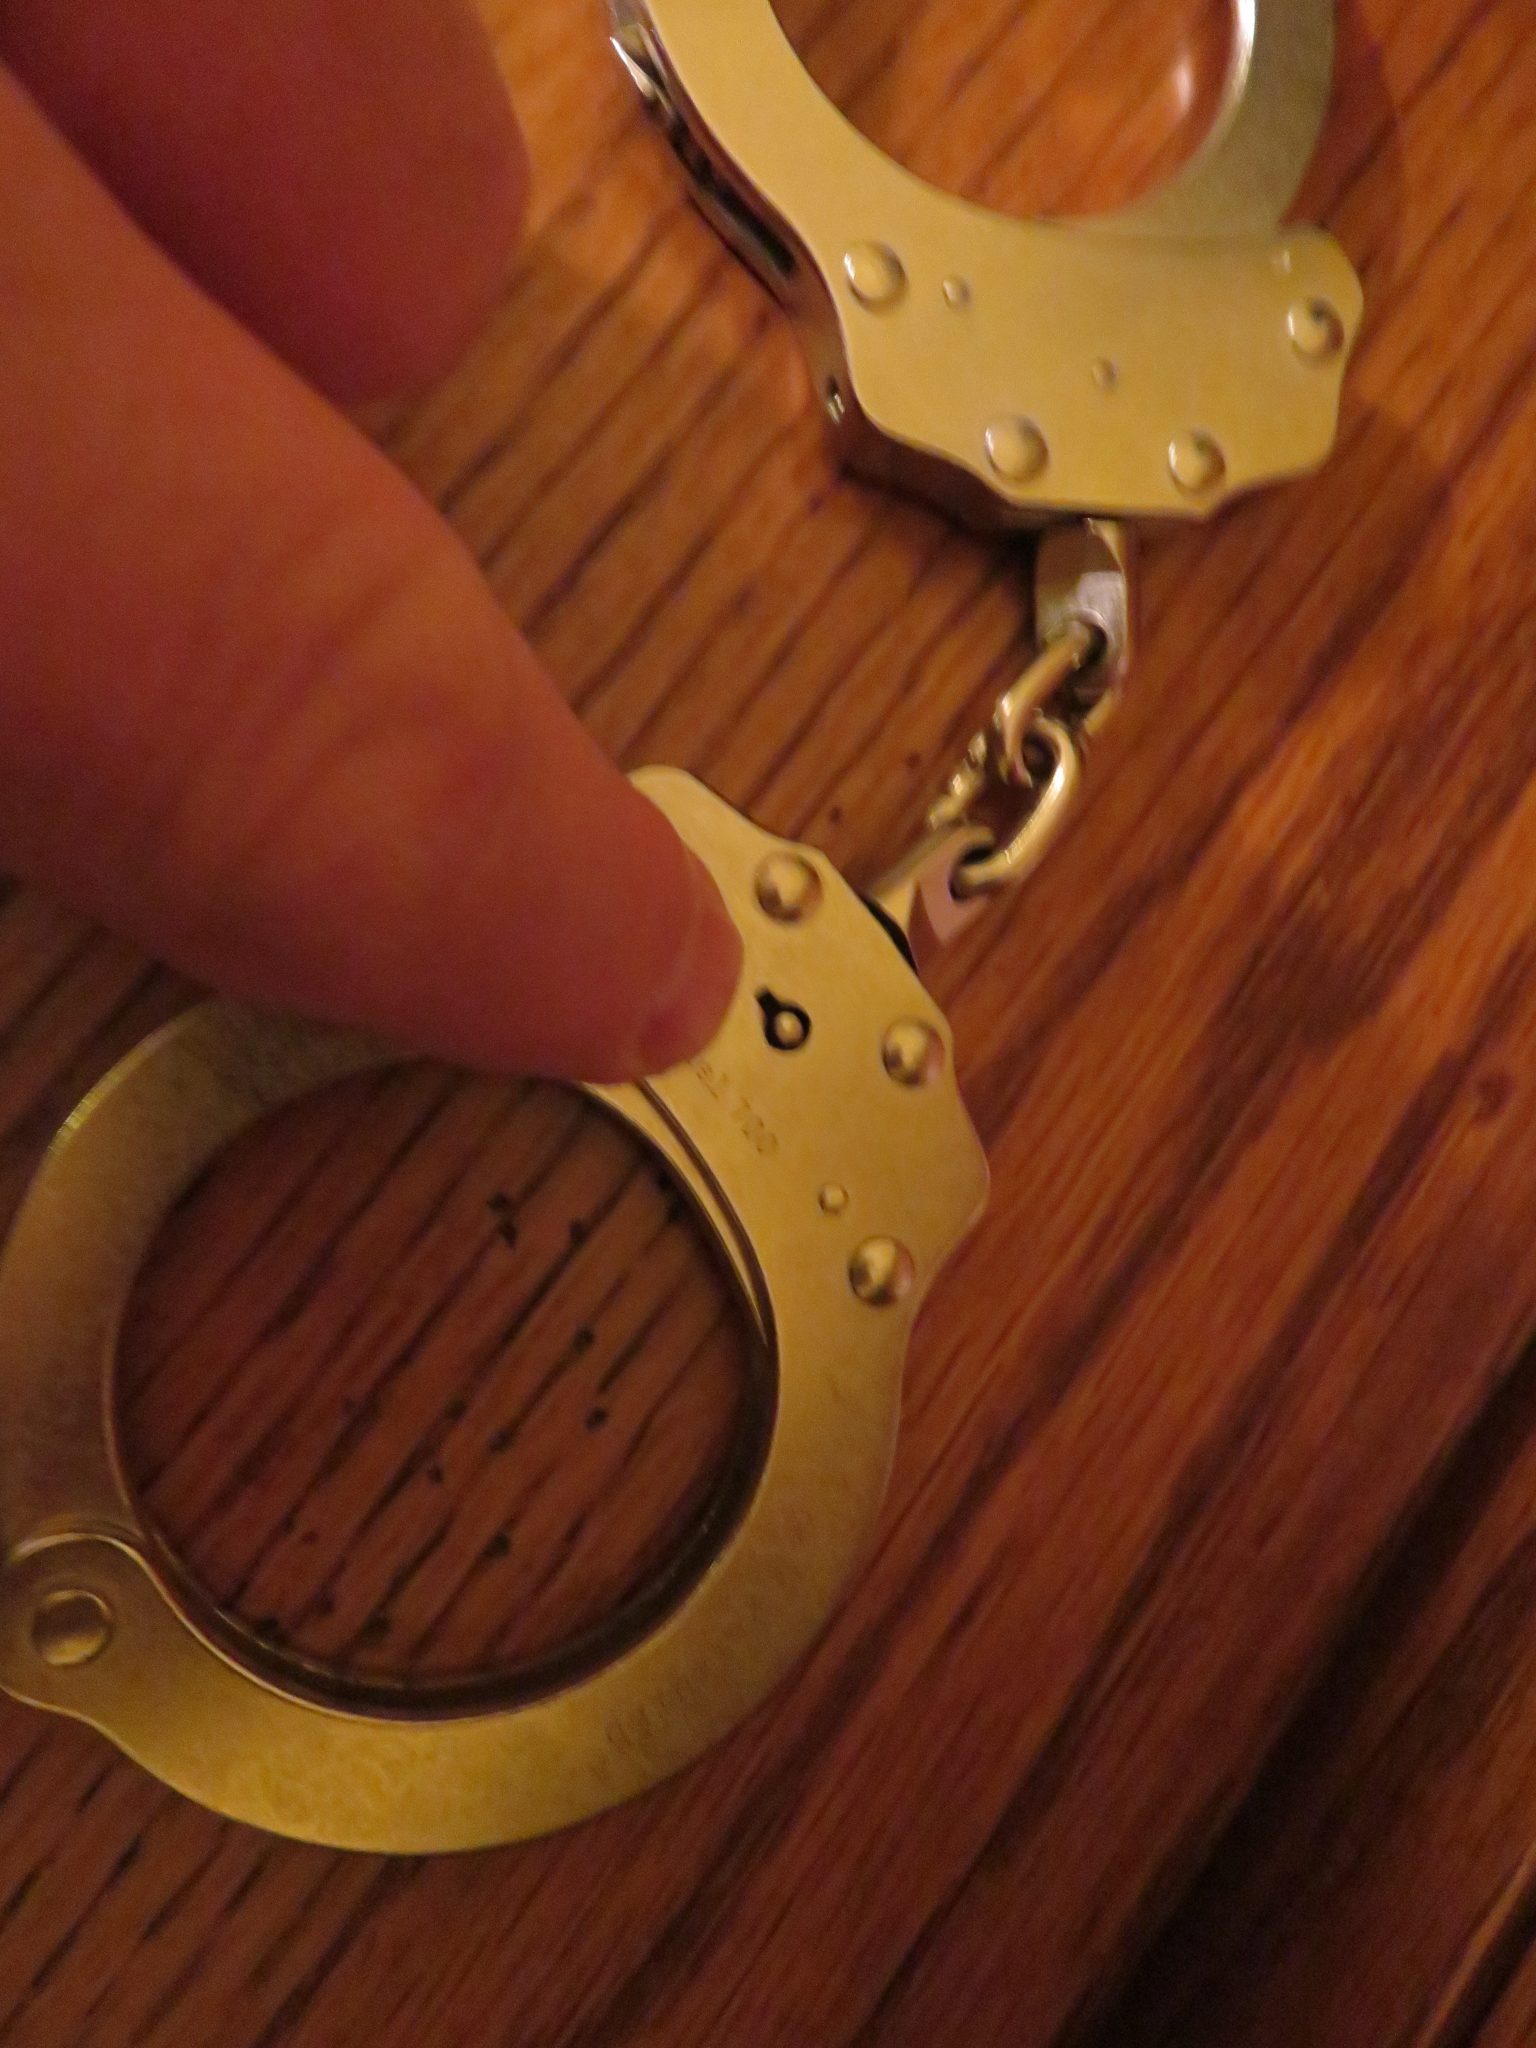
The second lock (double-lock), a button inset, is found on the underside of the body of the cuff near where the end of the ratchet exits the cuff body.

Double-lock button (above).
To activate the double-lock, the officer uses the pointed tip of the handcuff key, the double-lock tip/actuator, to depress the button. This action prevents the ratchet from moving in either direction. Otherwise, the cuffs could, and often do, continue to tighten on the wearer’s wrists which could cause injury. Double-locking also prevents the wearer from picking the lock.
Officers double-lock cuffs after they’ve gained control of the suspect, but prior to placing the bad guy inside the patrol car/transport vehicle. ALWAYS double-lock cuffs before placing bad guys in the car. ALWAYS!

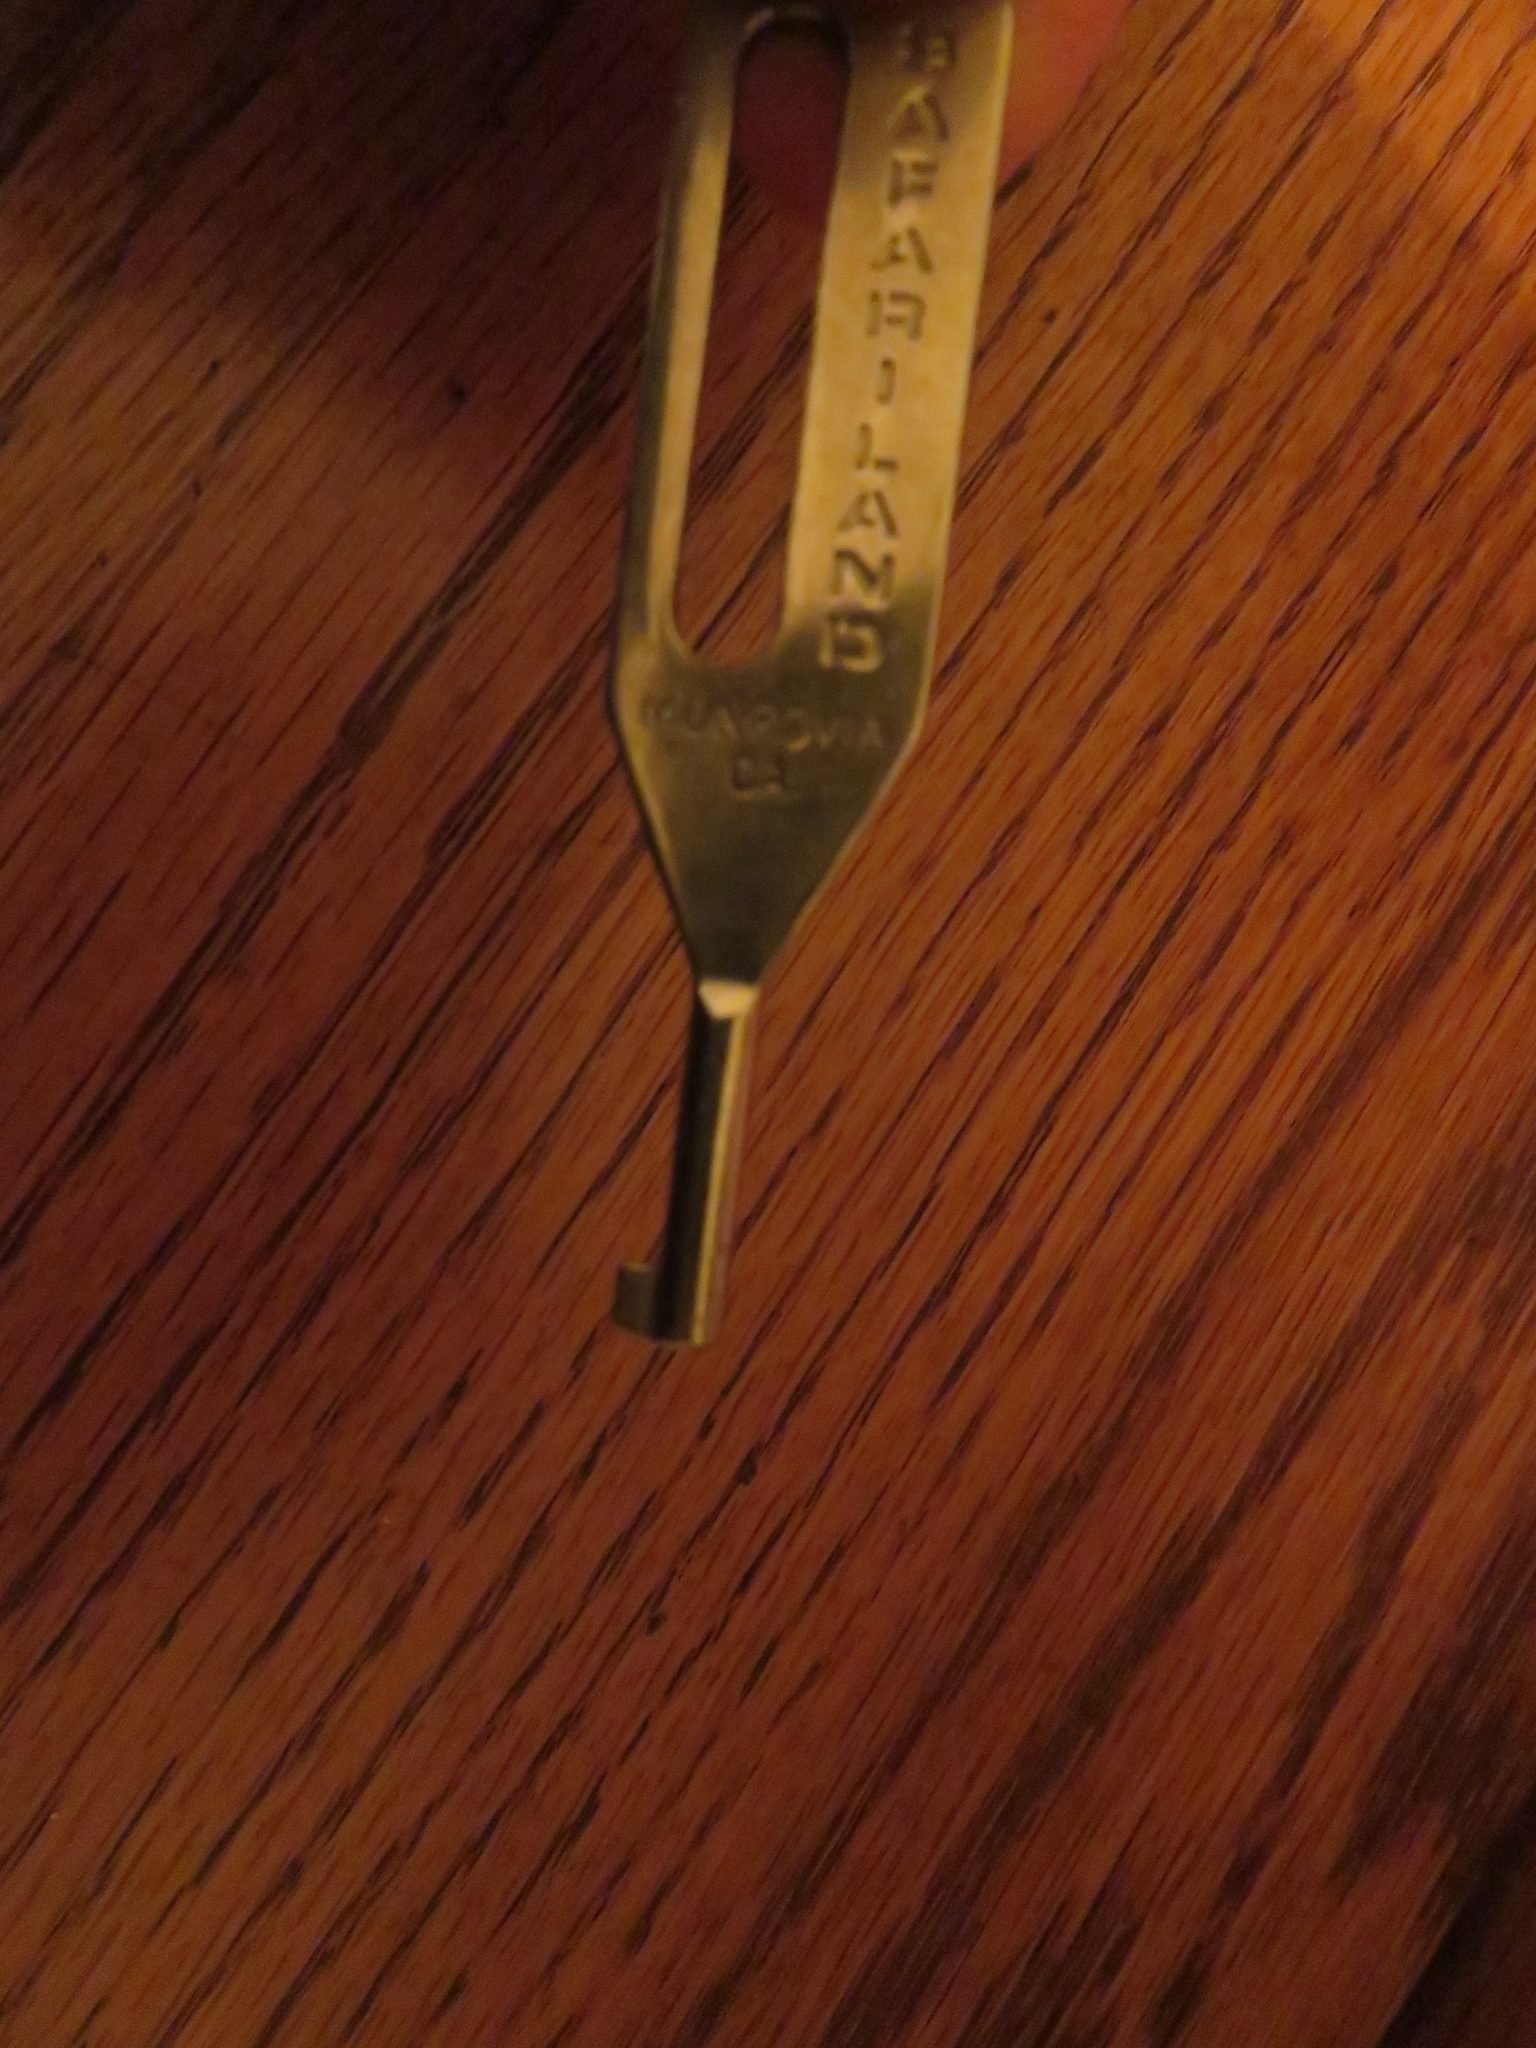
Above – Actuator tip, or double-lock tip.

Above – Use double-lock tip to depress double-lock button.
To release handcuff locks, officers insert the L-shaped portion of the key, the key flag, into the keyhole and turn the key to the left, much like unlocking your front door or a padlock. Turning the key releases the connection between the pawl and the ratchet, opening the cuffs. This action ONLY unlocks the first lock (when cuffs have NOT been double-locked)..
Above – Key flag
Above – Keyhole

Above – Handcuff key inserted into keyhole.
To release the second lock, the double-lock, the key must first be turned 90 degrees to the left to unlock the pawl and ratchet. Next, the officer turns the key back to the right, 90 degrees past the starting point where the key was first inserted. So, left 90 degrees and then 180 degrees in the opposite direction. Make sense?

So now you know the full details of, well, an open and shut operation.


